No products
Prices are tax included
Product successfully added to your shopping cart
There are 0 items in your cart. There is 1 item in your cart.
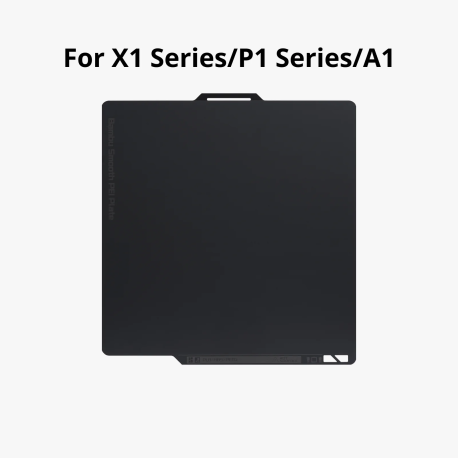
Bambu Lab Textured PEI Sheet for Bambu Lab X1 Series / P1 Series / A1
- Excellent first-layer adhesion
- Smooth surface finish
- Compatible with various filament materials
Out of stock
40-045
Skriv din e-mail-adresse her, hvis du vil have besked når vi igen har denne vare på lager:
Notify me when available
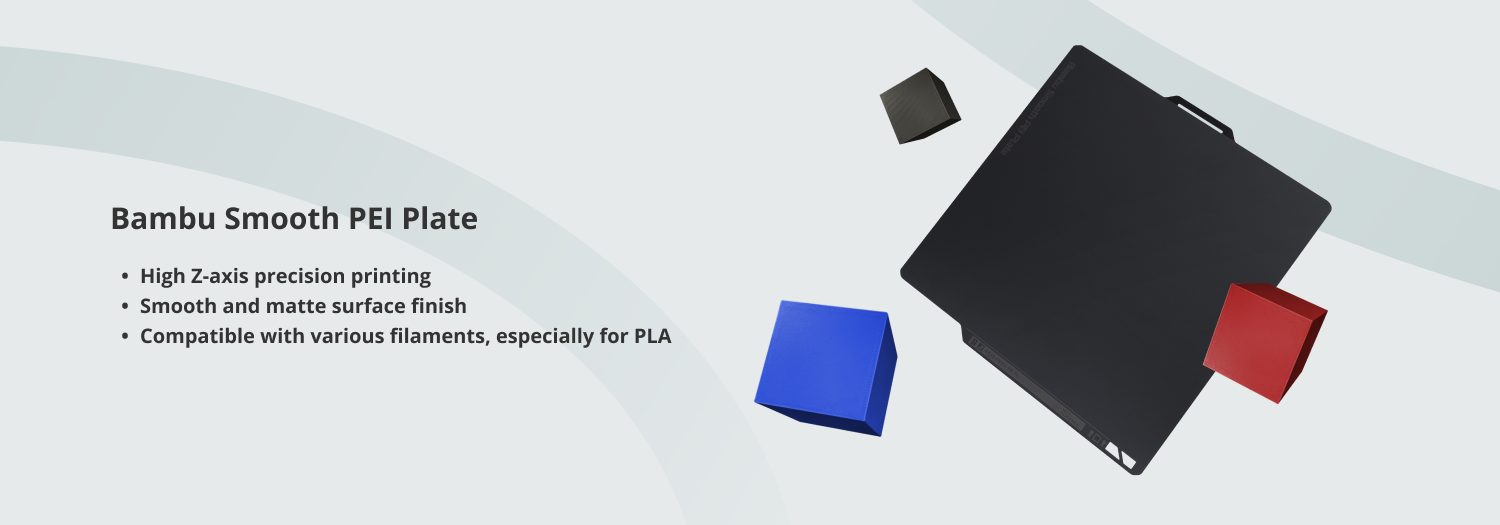
High Z-axis Precision Printing

Smooth and Matte Surface Finish
The use of a specially selected matte PEI sheet can impart a smooth and matte texture to the bottom surface of the printed object, enhancing its overall appearance.
Compatible with Various Filaments
PEI enables printing not only with common materials such as PLA, TPU, PETG, but also with materials that require high temperatures like ABS and Nylon.
Note: Please apply glue to prevent the sheet from tearing if printing with filaments other than PLA.

Reliable Magnetic Adhesion to Prevent Warping
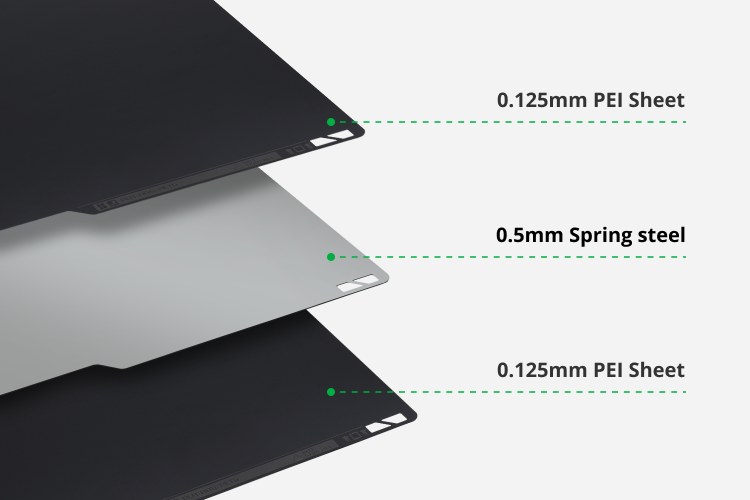
The Bambu Smooth PEI Plate features a 0.5mm-thick spring steel plate that enhances magnetic adhesion. This helps to prevent warping and ensure optimal print quality during 3D printing. It also helps when printing larger models with materials that are prone to warping such as ABS, PC, and Nylon.
Considerations
- Please note that with the Smooth PEI Plate on the A1 there is a higher risk the plate curling from the corners, or the printed models to detach from the plate. This is caused by the thicker Smooth PEI applied to the plate, which will increase the distance from the bed magnets and lower the magnetic attraction.
- If bubbles appear on the bottom of the sheet, heating it on the heatbed at a temperature of no less than 80 degrees for several hours can be helpful in eliminating the bubbles.
- Deposition of dust and grease on the build plate decrease adhesion. It is recommended to regularly clean the surface with detergent and water to to maintain best adhesion.
- Do not clean the Smooth PEI with Acetone, as it will damage the PEI surface.
- Always wait for a few minutes before removing printed models to allow the plate to cool down for easy print removal. This prevents damage to the plate and ensures a long lifetime of the product.
- Carefully sanding the surface with fine-grit (600 was recommended) sandpaper can help restore adhesion.
- The Smooth PEI plate is considered a consumable part, which will degrade over time. The warranty will only cover manufacturing defects, not cosmetic damage like scratches, dents, or cracks. Defective sheets upon arrival are the only ones covered by the warranty.
Recommended Settings
Please note that other slicer settings might need to be adjusted based on the printed model and the filament requirements
| Materials | Heatbed Temperature | Glue Stick Required? |
| PLA/PLA-CF/PLA-GF | 45~60℃ | No |
| PETG/PETG-CF | 60~80℃ | Glue Stick/Liquid Glue |
| ABS (not for A1 mini) | 90~100℃ | Glue Stick/Liquid Glue |
| ASA (not for A1 mini) | 90~100℃ | Glue Stick/Liquid Glue |
| TPU | 35~45℃ | Glue Stick/Liquid Glue |
| PVA | 45~60℃ | Glue Stick/Liquid Glue |
| PC/PC-CF (not for A1 mini) | 90~110℃ | Glue Stick |
| PA/PA-CF/PAHT-CF (not for A1 mini) | 90~110℃ | Glue Stick |
| PET-CF (not for A1 mini) | 80~100℃ | Glue Stick/Liquid Glue |
Installation Steps for X1 Series/P1 Series/A1

Step 1: Align the plate with the fixed points of the platform with the name of the plate facing you

Step 2: Lower the plate and secure to the magnetic platform
Installation Steps for A1 mini

Step 1: Align the plate with the fixed points of the platform with the name of the plate facing you

Step 2: Lower the plate and secure to the magnetic platform


